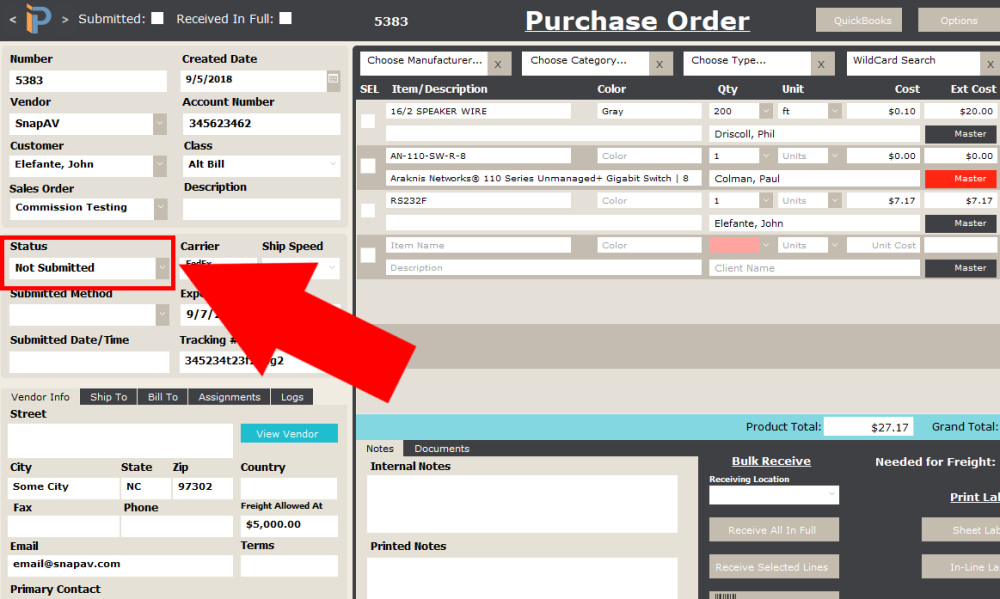
The Purchase Order Status helps iPoint users know what is happening with POs in the system. Change the status of a PO as it flows through your company’s process. For example, you might have an approval process for POs by a manager. Or you might choose to send a notification to accounting when a purchase order has an item on backorder.
Set Up
- To create a new PO status, click in the last empty Item Name field and type in the name of the new PO Status.
- Enter a number in the Sort Order field to organize the items on this list in a particular sequence.
- Place a checkmark in the Submitted check-box to signify when a PO has been sent to the vendor. (Only one status should be set as Submitted.)
- Place a checkmark in the Partially Received check-box to identify the status when a PO has some, but not all of the items received. (Only one status should be set as Partially Received.)
- A checkmark in the Received In Full check-box identifies the PO status when all items have been received. (Only one status should be marked as Received in Full.)
- To edit a status, simply click in the field you need to change and edit the Status name.
- Deleting a status is done by clicking the blue X button at the end of a particular line.
Use
- The Purchase Order Status is set on the individual POs, either manually, or automatically based on printing and item receipts.
- Sort the Purchase Order List based on a particular status.
- iPoint can send a notification to specific users based on a specific status or item receipts: setup in Settings > Notification Builder
.
.
.
.
iPoint Version:
10.0305
Last modified:
11 Mar 2021


