Mobile Device Requirements
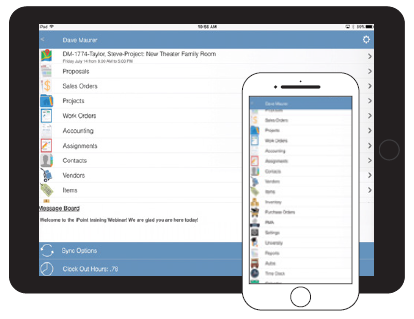
Remote access to iPoint is available using an Apple iPhone or iPad. The FileMaker Go application is only available for iOS devices. Devices need to be running on the latest iOS to access iPoint.
Update: We are testing new WebDirect functionality that provides web-based access to iPoint. This Beta Feature makes it possible for Android users to access iPoint. For more information, contact our support team. Keep in mind, this is a Beta Feature and is not fully tested.
This guide will walk you through the process of installing iPoint on your iPad or iPhone.

If you prefer to follow a checklist instead of watching a tutorial video, here are your instructions.
Before you begin, contact your iPoint Administrator to get your login information:
- Make sure that your company server is on FileMaker 19 or greater.
- Your iPoint user name and password
- iPoint server name
- You can also get the iPoint server host information by looking at your co-worker’s computer.
- Click File in the menubar at the top of iPoint.
- Click the Hosts… button.
- Right-click the iPoint favorite host in the list at the left and select Edit Favorite.
- The Host’s Internet Address will be displayed.
- You can also get the iPoint server host information by looking at your co-worker’s computer.
Once you have your login information, you’re ready to begin! Complete the following steps to install iPoint on your iOS device:
- Download the Claris FileMaker Go 19 app to your device from the App Store
- Open FileMaker Go 19
- Tap Close in the top-right corner to close the Welcome Tour
- The On My iPad tab will open (you will see the My Apps icon selected in blue at the bottom of your screen)
- Delete the files listed in the Device tab
- From Tile View:
- Tap the select icon at the top right and select each file
- Tap the trash can icon at the top left
- Tap the Delete 4 Files button that appears at the bottom of your screen
- From List View: swipe left across each file and tap Delete
- From Tile View:
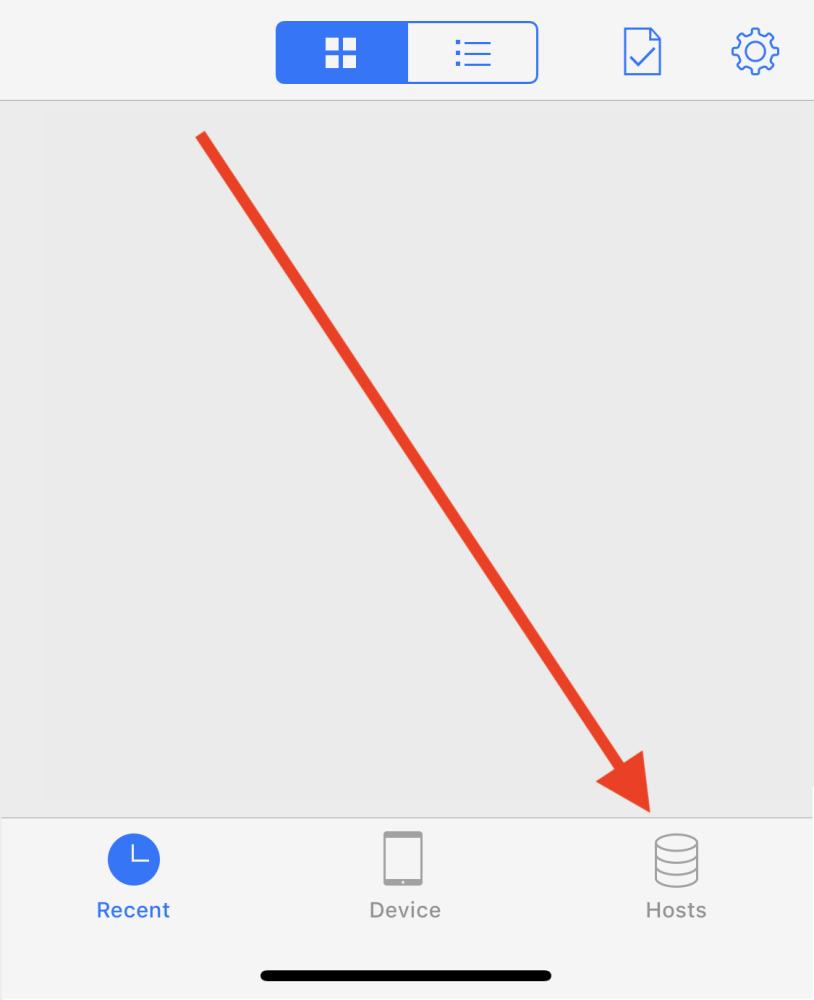
- Tap the Hosts icon at the bottom of the screen
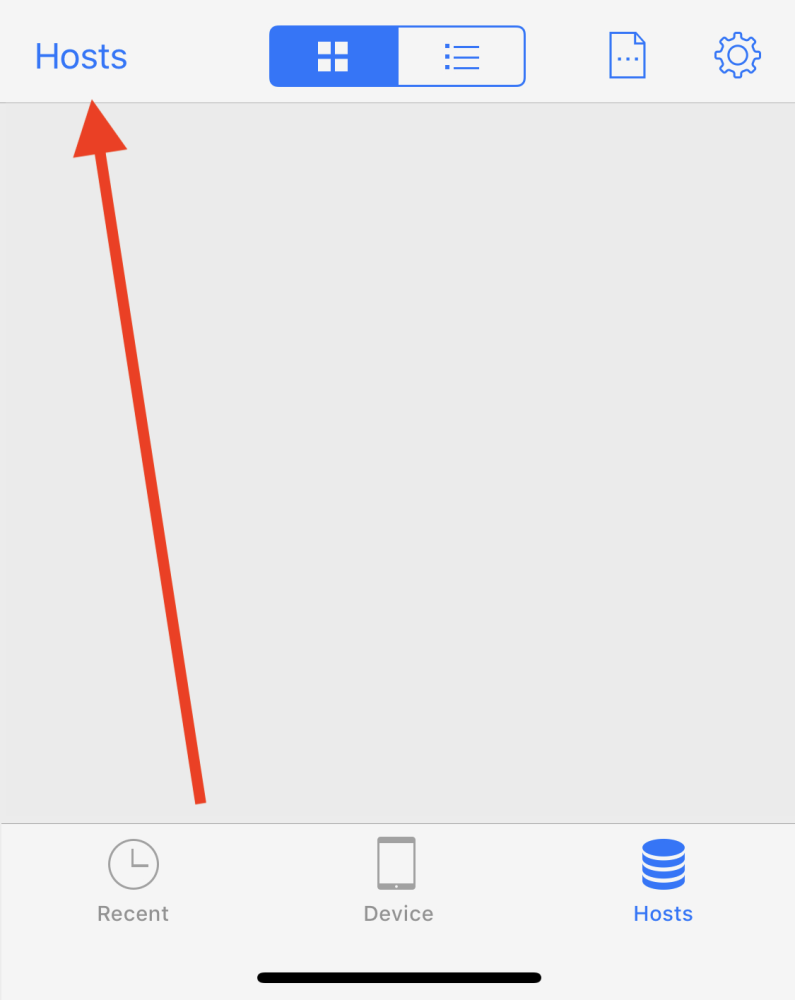
- Tap the plus sign in the top-right corner to add your host
- Enter the iPoint server name in the Host Address field and tap Save
- This information is available from your Administrator
- Enter your iPoint server name in the Host’s Internet Address field and click Save
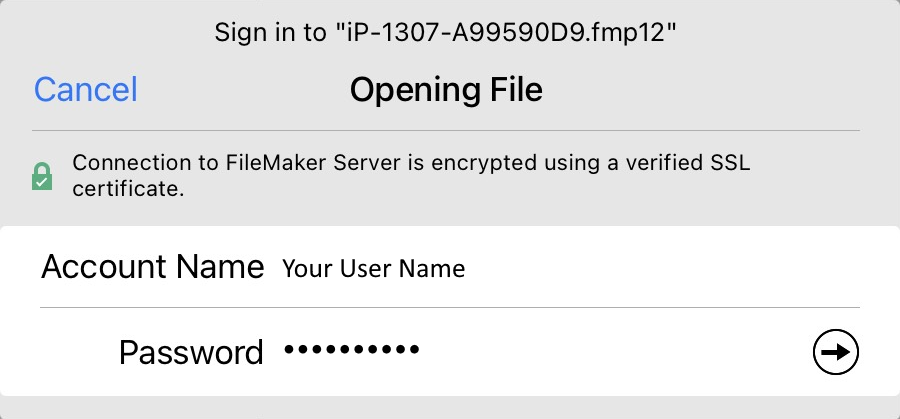
- Enter your iPoint user name and password
- Select Save in Keychain on iPad (iPhone will automatically save the password to your keychain)
- Tap Sign In at top right
- Find the file with the iPoint Logo; It will be named “IP – your file name”
- Tap the file icon to open the iPoint dashboard
- You will be prompted to enter a name for this device (for example, Rob’s iPad)
- To open iPoint in the future, open the FileMaker Go app and tap on the iPoint file icon in the Recent tab
You have successfully installed iPoint!!!
If you run into any issues, please don’t hesitate to contact iPoint Support at (800) 535-4101 or email us at support@ipointsolutions.net.


