
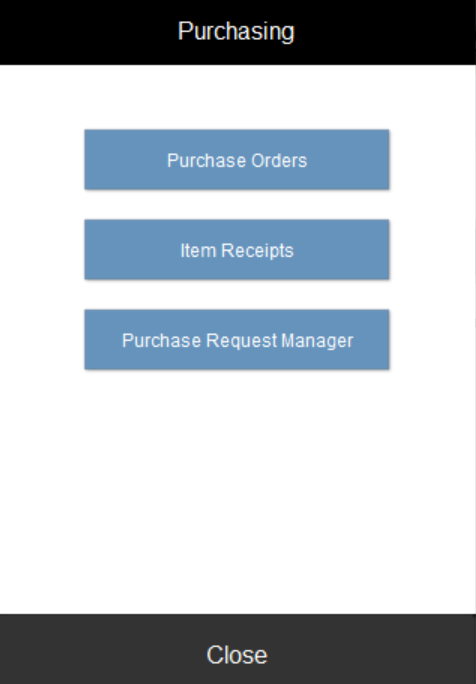
From the iPoint dashboard, clicking on the Purchase Order module gives you three options:
- Purchase Orders – this button opens up the Purchase Orders screen so you can look at all of your purchase orders in one place
- Item Receipts – this button opens up the Item Receipts window so you can see all of your item receipts in one place.
- Purchase Request Manager – this shortcut directly opens the PRM so you can take care of allocating and ordering requested parts.
![]()
Purchase Orders List
You can access the Purchase Order List from the Dashboard by clicking on the Purchase Order icon.
Here, you can see the list of purchase orders. From the list, you can quickly view the following for each PO:
- The PO number
- QB Sync – if the PO is synced to QuickBooks, you’ll see a green dot. (
 ) If the PO has been modified since it was last synchronized, the dot will turn orange (
  )
) - The % of the PO that has been received
- Back Ordered – if the PO is back-ordered, it will be flagged as such with a pink “Back Ordered”
- Vendor – the name of the company the PO is issued to
- Status – what is the status of the PO
- Not Submitted – means the PO has not yet been sent to the vendor
- Submitted – the PO has been sent to the vendor
- Partially Received – some of the items on the PO have been received
- Received – all items have been received in full
- Sales Order – if the PO comes from a particular sales order, the sales order name is referenced
- Client Name – if the PO is for a particular individual, the customer name will be displayed
- Submitted – once the PO is submitted, you will see a checkmark
![]()
- Received In Full – once all items on the PO have been received, you will see a checkmark
![]()
- Total – the total of all items on the Purchase Order
- Expected – the date the shipment is expected to arrive. If no date is entered, then the date displayed is the Submitted date.
- When the expected date is displayed in red, that is a visual indication that the PO is past due
Clicking on any purchase order line opens the Purchase Order Details window.
Header
At the top of the Purchase Order List are tools to help find and modify the PO list.
Sort Options
Click the sort field to reorganize the list by:
- Client Name – sorts the list by client name if a customer name has been assigned to the PO. Those POs that have no client assigned will show up in the list first.
- Creation Date – will sort the list by the date you created the POs, with the most recent ones at the top of the list
- Expected Date – sort the list by when you may expect to see the PO arrive. This is an easy way to track which POs you should be receiving soon.
- Ref Number – sorts the list by the PO’s reference number
- Sales Order – sorts the list by the Sales Order names that are associated with Purchase Orders
- Status – sorts by the status of the PO, which is a custom field and may include “On-Hold” or “Submitted.”
- Submitted Date – sorts the list by the date of when the PO was submitted. If you have POs that haven’t been submitted yet, then those will appear first in the list. Of course, you can always filter the list to only show POs that have been submitted (see below).
- Vendor – will sort the list by vendor
 PO Options Button Filters the PO List
Options button
You can filter the Purchase Order list using the Options Button, using one or more of the available filters.
- Show Received – choose to filter the list based on:
- Show Only – shows only POs that have been received
- Don’t Show – hides POs that have been marked received
- Show All – displays all POs regardless of their receipt status
- PO Created From Date / PO Created To Date – use the date ranges to select purchase orders that were created before or after a particular date.
- PO Vendor – display purchase orders for a particular vendor. Use the dropdown list to find the particular vendor you seek.
- PO Item Manufacturer – show purchase orders that include items from a particular manufacturer. A dropdown menu lets you pick any manufacturer in the iPoint database.
- PO Class – if you use classes for reporting in QuickBooks or refine reporting on your company, this selection will help find POs with a particular class.
- PO Status – find POs that match a particular status. These statuses are customizable and defined in Settings > Pop Up Lists > PO Status.
- Site – if your company uses multiple locations, like stores in two different cities, use this filter to show POs designated for a particular site.
- PO Received From Date / PO Received To Date – use the date ranges to select purchase orders that were received before or after a particular date.
- Need Synced to QuickBooks – helps sort the list based on their QuickBooks sync status
- Show Only – shows only POs that have not been synced to QuickBooks or changed since the last sync.
- Don’t Show – hides any PO that has been synced successfully.
- Show All – wanna see all POs regardless of the sync status? This is the option for you!
- Back Ordered – If any line on a PO has been marked as back-ordered, this filter will help sort them.
- Show Only – displays back-ordered POs.
- Don’t Show – hides POs that have a back-ordered line.
- Show All – look at all POs with or without a back-ordered part.
Buttons
 – this magical button clears all the filters that have been entered into Options.
 – once the list of POs has been filtered using the options described above, this button pushes all the POs in the found set to QuickBooks. Note: You must have access and permissions in QuickBooks for this button to work.
 – this button closes the Options pop-over causing the list to be filtered based on the options entered above.
New PO
Click the New PO button to open a blank purchase order where you can manually enter products to be ordered for standard stock.
Keep in mind that POs are usually created in the Purchase Request Manager.
However, they can also be generated from a Sales Order on the Product Manager.
Wild Card Search
To search for a PO in the Purchase Order List, click the Wild Card Search bar at the top of the screen, type the keyword you want to search, and then hit enter. You can search for any information that might be associated with a Purchase Order, such as a PO number, vendor name, item, client name, or other information.