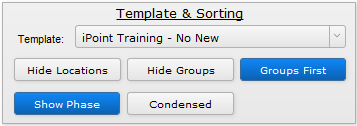
The first section of the Proposal Options is where you define how the proposal will look graphically and in what order the items on the proposal are presented.
.
.
Template
Use the template dropdown menu to select between the various Custom Templates that your system administrator has set up. Changing the template modifies graphics used and can adjust settings in the customization section (depending on how the template has been set up).
Hide/Show Locations
Items can be assigned to a specific location or room in the Designer, making it easier for your customer to know where the things they purchase will be installed. By default, items and related labor will be grouped by room.


Hide/Show Groups
By default, products and services are lumped together by product type or Group. For example, you might choose to list all AV Equipment together and then group all Security gear together. To do this, define a group for each part as you add it to the Designer or use the default group assigned by your system administrator.


Note: If both the Hide Groups button and the Hide Locations button are selected, iPoint will display all items as one uninterrupted list.
Locations First/Groups First
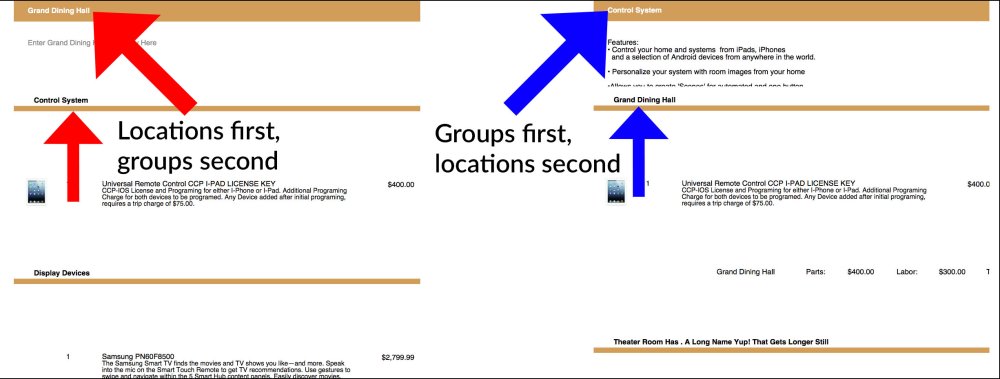
When printing a proposal, the equipment is printed in a nested view. Let’s assume we have products in the Kitchen and the Master Bedroom. We also have AV Equipment and Security gear installed in both locations. By default, Groups will first display the product and then be broken out by Location as illustrated on the left. The other option is to show the equipment in the Location order and then subdivided by Group, as shown on the right.
| Group/Location order | Location/Group order |
|---|---|
|
|


Hide Phase/Show Phase
There is a third layer that you can use to display products on a proposal: the labor Phase. Each product can be tied to a particular job phase, either by default from the Item Detail or as the product is added to the proposal. The Phase division is always the last subdivision, so it will appear third if both Groups and Locations are shown. If Groups are hidden, then Phase is the second subdivision after Locations. If both Groups and Locations are hidden, but Phases are shown, Phases are the primary subdivision.
Using the labor Phase, in addition to Groups and Locations, would present the following results (based on our example above. First, notice how each location has the equipment broken down based on the installation phase.
- AV Equipment
- Kitchen
- Prewire
- Trim
- Finish
- Master Bedroom
- Prewire
- Trim
- Finish
- Kitchen
- Security gear
- Kitchen
- Prewire
- Trim
- Finish
- Master Bedroom
- Prewire
- Trim
- Finish
- Kitchen


Condensed/Standard
The default setting shows every part with a series of details that you can arrange based on the Customization options described here. This Standard view is typically used for residential clients who prefer more detail. But sometimes, a client will prefer a simple, more condensed layout. We’ve seen this option preferred by commercial clients. Below is an illustration of the difference between a Standard and a Condensed layout.


.
.


