To get started, iPoint has several prebuilt templates available for use. Using the iPoint Templates drop-down menu, select one of the following options:
- Show Only will display iPoint curated pages
- Don’t Show displays only the page you have created.
- Show All provides a list of all pages, both iPoint and company-created pages.
- Fetch Templates will download available iPoint templates that you can copy and modify for your own use.
The pages tab has three sections.
First, is a List of Pages created in the builder.
- Clicking on a page in the list will fill the middle section with a preview of the document.
- Below the list of documents are two buttons
- New Page – creates a blank editable page. Users are prompted to enter the name of the page.
- Options – opens a pop-over window with several ways to edit existing pages.
- Clone – makes a copy of the selected page, which is useful for making slight adjustments to an existing page while keeping the original intact.
- Delete – this is a tricky one. This button deletes the selected page.
- Download Sample Images – saves image templates to the user’s computer. These graphics can be opened with a graphics editor software and modified to reflect the look and feel of your company. Once edited, the images can be imported into iPoint to customize your pages.
- Fetch Sample Documents from iPoint – some people prefer to have reference samples before building their own pages. Click this button to download the samples we’ve created for you.
The second section is the Preview of the page. Clicking on the preview opens an editor window.
The third section is the Doc Name which displays what documents the selected page is included in.
Clicking on the preview image, New Page button, or the Duplicate button opens the Document Builder page editor.
Document Builder
On the left side is the Options and contains several controls to customize the look of the page.
- The top of the Editor Options window displays the name of the page being edited.
- Next are two search fields, useful for quickly finding a Merge Tag.
- The Section drop-down restricts the list of tags to a specific group of tags
- The second Name field is a text-based search. For example, type in “last” to narrow the list of tags down to tags including the customer’s last name.
- The list of Merge Tags is next. These are hooks into the iPoint database that will pull customer or job-specific details and plug it into the page. A detailed description of each Merge Tag is available in Settings > Module Settings > Proposals > Proposal Merge Fields.
- Below the Merge Tags are three toggle buttons.
- Don’t Use Headers/Use Headers hides or displays the header and footer fields on a particular page. Information in the headers and footers rely on the Document in which the page is included. So showing the headers will cause the page to inherit the header and footer from the Document.
- Use Text Page/Use Image Page defines if the page is going to be text-based or include images.
- Enter Preview Mode displays each individual page in the preview window.
- Download Images causes iPoint to save graphics files to the user’s computer. These images are suitable for editing and re-importing into Document Builder images and aid in getting the proper image dimensions.
The large window on the right is the Document Builder Editor where the page content is created. Each page can have up to four layers
- The Left layer is the text that is justified left.
- The Center layer contains the center justified text.
- The Right layer has text that is, you guessed it, aligned to the right!
- An Image layer is available on image pages. If the Use Text Page option is chosen, there will be no Image layer.
At the very top of the window, you will see a ruler. This is used to set tabs and margins and can be applied to each line in the document.
The far left of the ruler has a black arrow with a line above it. This is the left margin and can be moved anywhere along the ruler to set the left margin of the text.
The black arrow without a line on the far right of the ruler is the right margin. Move this arrow anywhere on the ruler to set the right margin of the text.
Click anywhere along the ruler to set a tab stop. Once added, you can move the tab stop anywhere along the ruler. This is the location the cursor will stop after the Tab key is pressed.
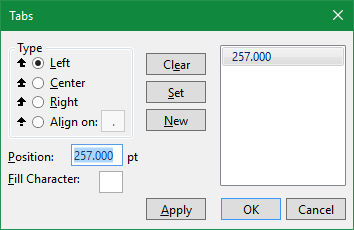
Double-clicking on the tab stop will open a window where you can pick the type of tab stop (Left, Center, Right, or Aligned on a special character like a period. you can also set the specific position of the tab stop by entering a value in the Position field.
Across the top of the Document Builder Editor are two blue bars used to navigate between the various layers. Click on any layer attribute to display just that layer, or use the All button to display all layers simultaneously.
Editing a Page
If the Document Builder windows are open, you have either created a new page, in which the Editor will be blank, or you are editing a preexisting page, which means there is already text and/or images installed.
To add text to a page follow these steps:
- Decide if this page is going to use the headers from the parent Document or not. To use the document headers, click the Use Headers button. You can’t edit the headers here, as they are inherited from the document settings. But you will see placeholders at the top and bottom of the Editor screen. If you don’t want to use headers at all, click the Don’t Use Headers button.
- Now, decide if this page is going to be text only, or will contain an image. For a page with graphics, click the Use Image Page button. This button will add the text layer to the editor and there will be an “Image” option at the top of the editor page. If the Use Text Page button is clicked the image layer and corresponding button will be removed.
- Time to start adding text to the page. Choose a text layer from the top of the Editor. For our example, we’ll start with the Left layer by clicking the Left link at the top of the Editor.
- Notice that the cursor is now blinking in Editor.
- Type the verbiage you want. Let’s type “Proposal prepared for:” Note how the text is entered in the editor.
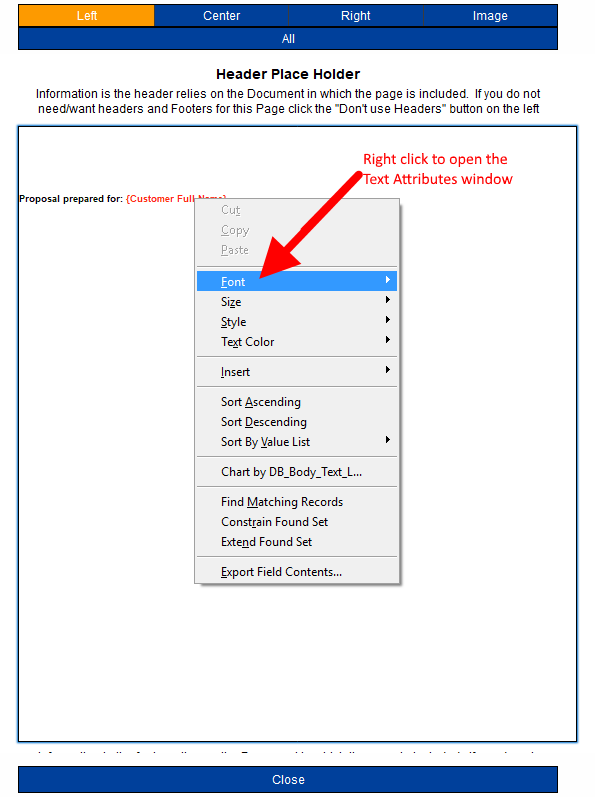
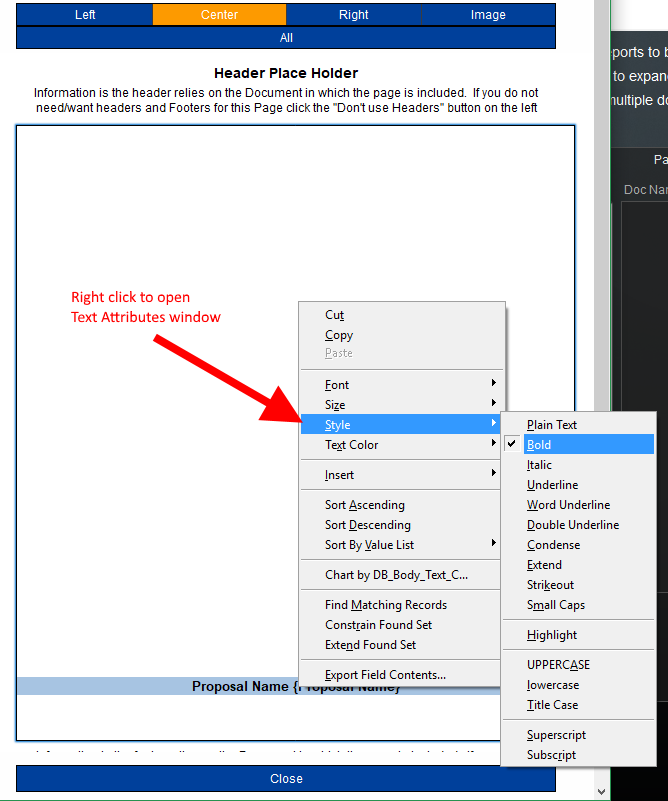
- To change the font size, style, or color, simply highlight the text and then right-click on the highlighted portion
- From the pop-up window select the text attribute you want to change. You can repeat this step to change multiple text features.
- Next we want to include the customer’s name from the proposal.
- Place the cursor where the customer’s name is going, in our example right after the colon in “Proposal prepared for:”
- From the Options window, find {Customer Full Name} and click on it. – see how the Merge Tag has been placed in the Editor.
- Again, you can modify font size, style, or color by highlighting the Merge Text, right-clicking, and choosing a text attribute.
- To move text further down the page, place the cursor in front of the text, and press the Enter button on your keyboard until the text lines up on the page where you want it.
- We’ll repeat these same steps to add the proposal name to the document, but we want this text centered on the page.
- First, click the Center link at the top of the editor.
- Notice that the left-justified text disappears because we are now working on a different layer.
- Repeat the steps above to add the words “Proposal Name”, spacing the text down to the bottom of the document.
- Notice that moving the text on this layer does not affect the text on the left layer added above.
- Put the cursor at the end of the Proposal Name and then find the {Proposal Name} merge tag from the Options list. Click the {Proposal Name} to insert that merge field onto the editor.
- Continue adding text to any of the layers using the methods described in steps 3 and 4 above.
- Now let’s add an image by clicking on the Image link at the top of the page.
- Notice that all the text layers disappear and there is a blank canvas available.
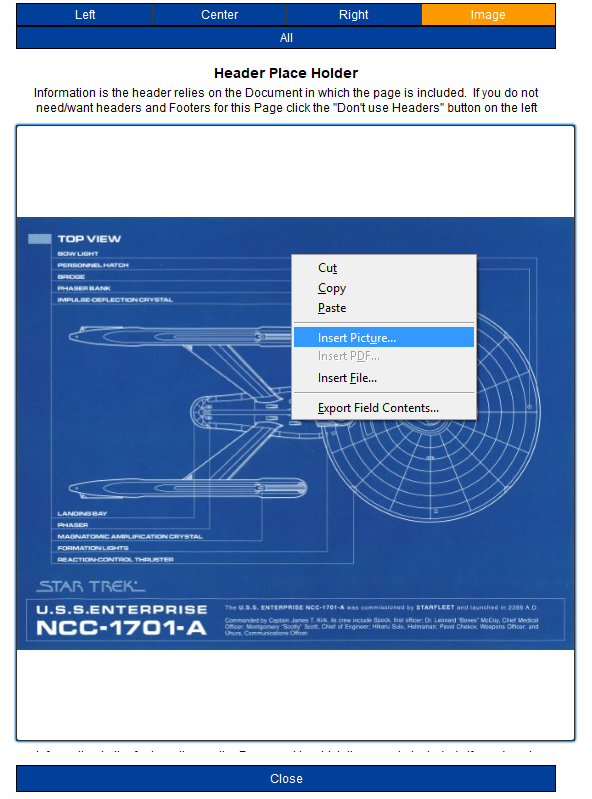
- Right-click on the editor window and select Insert Picture from the pop-up window.
- Navigate to the image you wish to use from your computer hard drive.
- The image will be added to the page, centered in the image window. To position the image in a specific spot on the page, see the Image Tips section below.
Preview your work
- Now that all page layers have been created, click the All button to see how the layers display together.
- If things don’t look quite right, go back to the layer that needs to be adjusted by clicking on the link at the top of the editor and make the necessary adjustments.
- Click the Close button at the bottom of the preview window to close the Document Builder Editor and Options windows and return to the Pages list.
Image Tips
When an image is uploaded to the Document Builder Image Layer, it is centered on the image layer and stretched or shrunk to fit the available image space. But sometimes you may want to put the image in a particular place on the page, and not centered. This is easily done by manipulating the image prior to importing it to the Document Builder.
- First determine the size of the image layer. This size varies depending on the options selected and is displayed next to the Image link in the header buttons.
- When using headers and footers, the image layer is 540 pixels wide by 616 pixels high
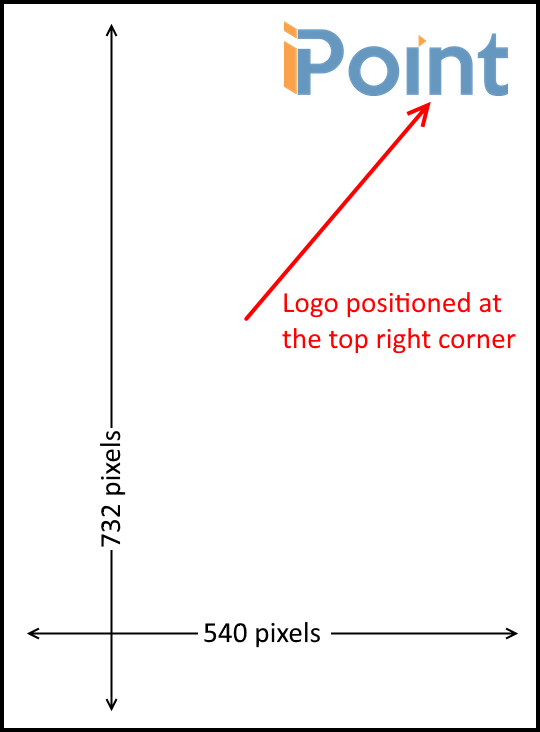
- When no headers/footers are used, the image layer is 540 pixels wide by 732 pixels high
- Open a graphics editor program and create a blank image that is the size desired.
- Now paste the image desired for the proposal in the specific position on the blank image. In our example, we want the company logo in the top right corner of our graphic.
iPoint has created blank graphics templates to ease the creation of the specific template image. Click the Download Image Templates link on the Editor window to download all the available image sizes used in the Document Builder. The following PNG images will be placed on your desk:
- Blank_Footer.png
- Blank_Header.png
- Blank_Image_No-HF.png
- Blank_Image_With_HF.png
.


