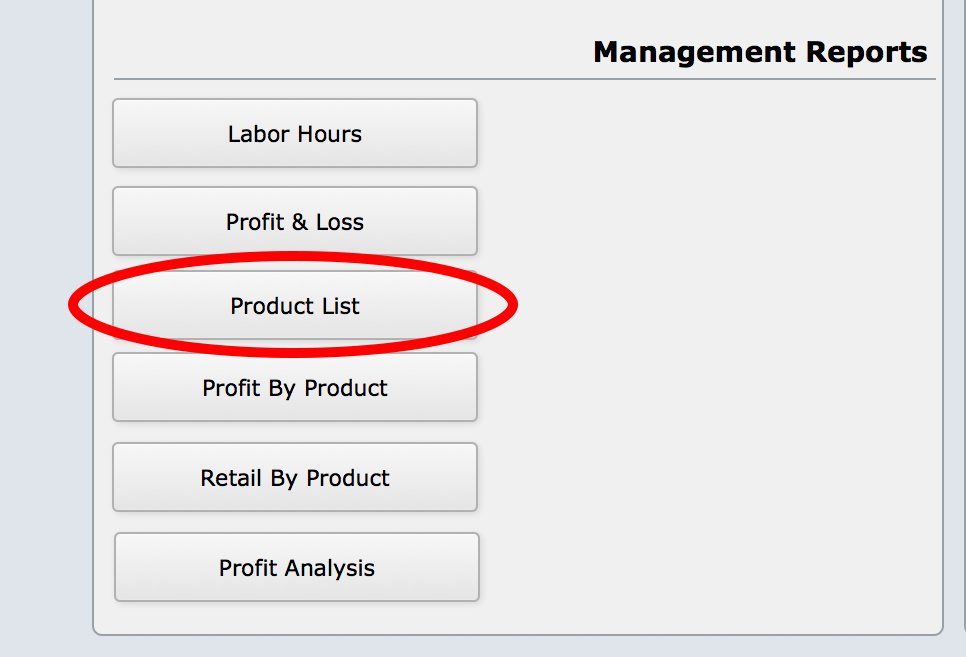
The Product List Report shows all of the products on the proposal in a printable format. One of the main advantages of this report is that it totals up how much of each item is on the proposal. So, for example, if you sort by manufacturer, you can see how many dimmers or feet of cable you have—across all rooms. In addition, you can sort all of your products on the proposal by phase, location, and finally, you can sort first by phase and then by location.
Note: The checkboxes for Submitted, Rec’d, and Delivered are just for reference. Ticking them on the report won’t update anything in iPoint (they don’t correlate to any system fields). They are just there for users who want to print the report and check the checkboxes by hand to track their product manually.
The Product List shows:
- Model: The item name, part number
- Description: A description of the item
- Notes: Any sales or technician notes regarding this item
- Quantity: How many you sold
- Submitted checkbox: Whether or not someone submitted the item on a purchase order
- Rec’d checkbox: Whether or not the item was received
- Delivered checkbox: Whether or not the item was delivered to the customer
To run the report:
- Click the Product List button in the Reports tab to open the report.
- Use the Options button in the upper left corner of the report to adjust the order items are displayed
Options

Click the Options button at the top of the Product List Report to open the Report Options popover window. You can sort the report, export the report, jump to another report, and navigate the proposal in the popover.
Sort Options
By default, the Product List Report is sorted alphabetically by manufacturer. However, you can choose to sort the report several ways:
- Manufacturer – this button will cause the items to be sorted by the manufacturer. Manufacturer names will be listed in alphabetical order. Items without a manufacturer, such as non-inventory items, will be listed at the top.
- Location – sorts by location. Items will be listed alphabetically by location.
- Phase – lists the items based on the labor phase associated with each part.
- Phase/Location – this is a two-layered sort. First, items are sorted by phase and then broken down by location under each phase.
- Vendor – use this button to organize the report by the name of the vendor who sells the item.
Report Options
- Print Report – this will open the print dialogue on your computer so you can print it to your favorite printer
- Save as PDF – this will open your computer’s save file dialogue and then you can pick a location to save the PDF file
- Email – click this to open your default email application. The PDF will be added as an attachment. Then you can address the email and write a note to whomever you want.
- Save in Docs – this button saves the Labor Hours Report to the Documents / Assignments tab in Proposal Details.
Go to Report
Jump to a number of different reports by clicking the following buttons:
- Client Proposal – opens the screen where you can customize the proposal and then send or print it
- Labor Hours – display the report showing how labor is assigned to groups, locations, and phases of the job
- Profit & Loss – a quick link to the report showing profit margin on items, labor, and the entire job
- Product List – shortcut to this report (kinda redundant, huh?!?)
Navigate the Proposal
- Close the Report Options window
- Details – open the details section of the proposal
- Designer – go to the Designer for this proposal


